Table of Contents
In this tutorial we will learn how to deploy and run a Java Spring Boot application to Google App Engine.
By the end of this tutorial, you should be able to run your own HTTP server on a public URL using the Java Spring Boot framework.
App Engine Overview
App Engine is a managed serverless platform that let’s you deploy and run your own applications while managing infrastructure operations.

This means that you only need to manage your application code, while App Engine will take care of provisioning the actual servers, and deploying and hosting your application on those servers. It also manages scaling, versioning and traffic allocation, which frees up your time as a developer.
Creating a New App Engine Service
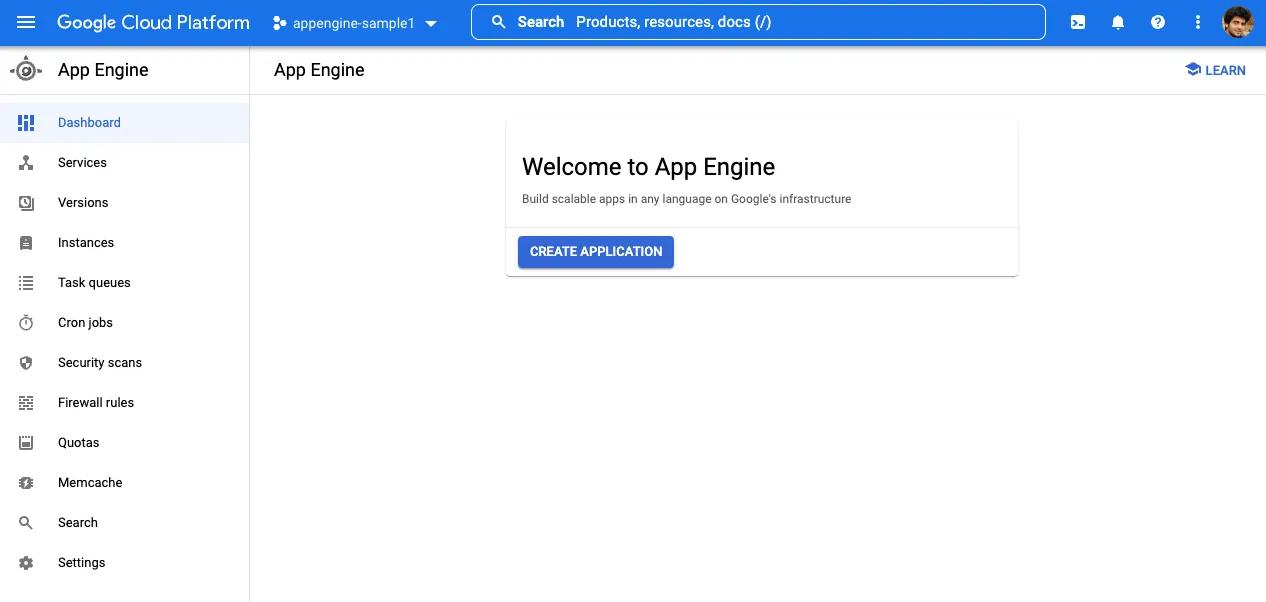
When you go to the App Engine dashboard for the first time, you’ll get a prompt to create a new App Engine application:
after selecting the cloud region, you’ll have to enter the language and environment
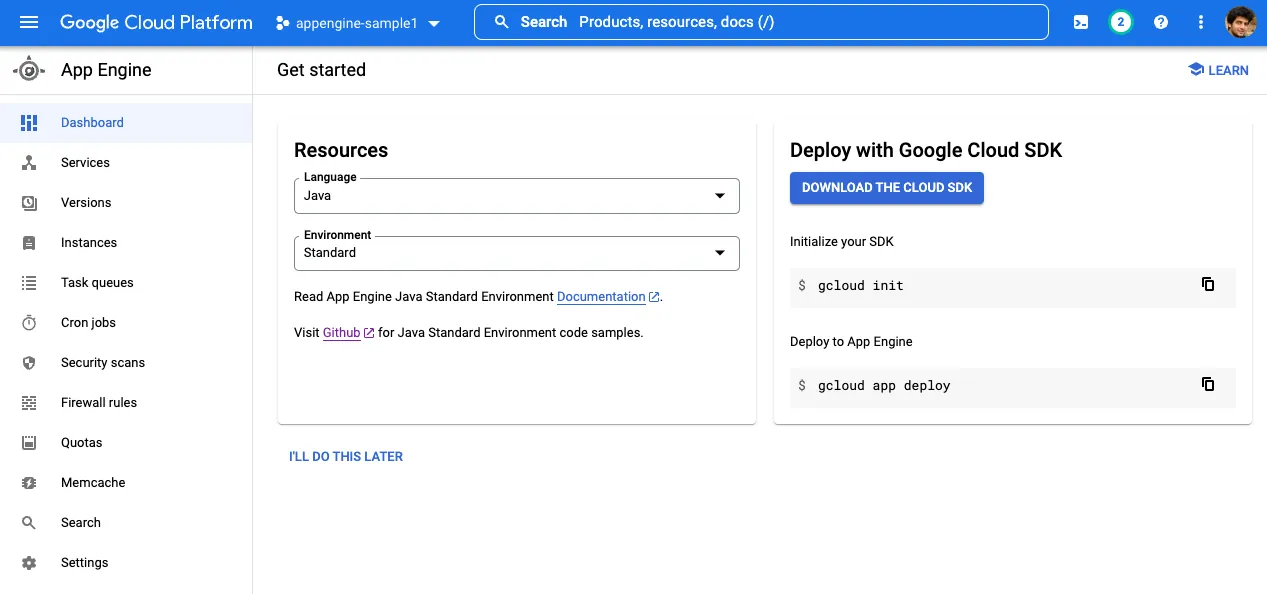
Since we’ll deploy using the command line, you can choose “I’ll do this later”.
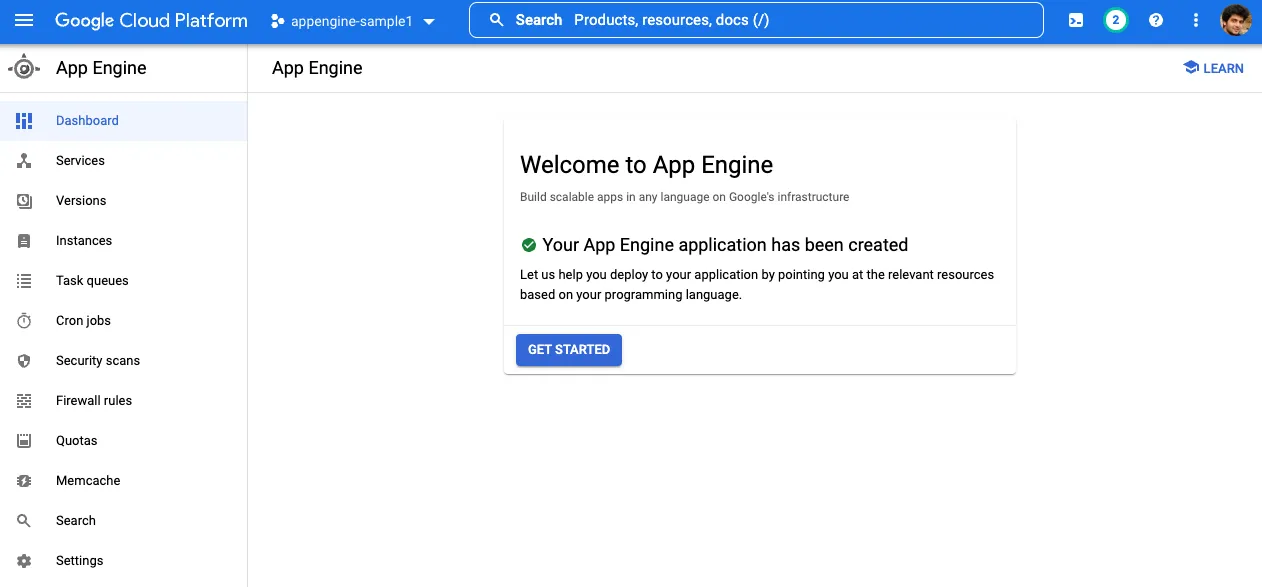
Finally, you’ll see a welcome page, which means you’re ready to start using App Engine:
Initializing Our Java Application
Let’s create a sample Spring Boot application to deploy on App Engine. Our project folder will look like this:
spring-demo
├── HELP.md
├── mvnw
├── mvnw.cmd
├── pom.xml
└── src
    ├── main
    │   ├── java
    │   │   └── com
    │   │       └── example
    │   │           └── demo
    │   │               └── DemoApplication.java
    │   └── resources
    │       ├── application.properties
    │       ├── static
    │       └── templates
    └── test
        └── java
            └── com
                └── example
                    └── demo
                        └── DemoApplicationTests.java
You can see the complete source code for this application on Github
For now, this application contains a basic HTTP GET /simple-request route that returns "ok" as the text response:

We can use the GetMapping annotation to define our route method, and return a string value that will in-turn be returned to the client as an HTTP response:
@SpringBootApplication
// Indicates that this class contains RESTful methods to handle incoming HTTP requests
@RestController
public class DemoApplication {

	// We can start our application by calling the run method with the primary class
	public static void main(String[] args) {
		SpringApplication.run(DemoApplication.class, args);
	}

	// The `GetMapping` annotation indicates that this method should be called
	// when handling GET requests to the "/simple-request" endpoint
	@GetMapping("/simple-request")
	public String simpleRequest() {
		System.out.println("simpleRequest was called");
		// In this case, we return the plain text response "ok"
		return "ok";
	}
}
Deploying on App Engine
Now, we can deploy our Java application as an App Engine service.
First, we need to install the gcloud command line tools.
Next, we need to login to access our Google Cloud projects:
gcloud auth loginAfter logging in, you can enable the Cloud Build API:
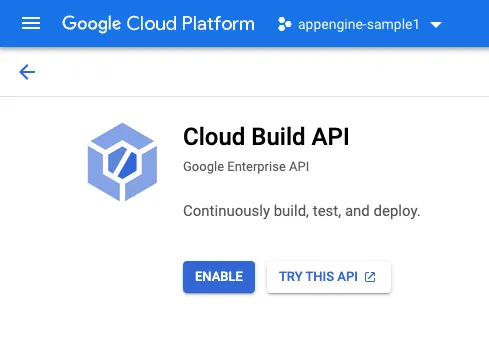
This is used to build your Java code into an executable that can be run as an App Engine service. You may need to enable billing in order to use this.
Finally, we can execute the following command from within our project directory, where the pom.xml file exists:
# first, go into your project directory
cd spring-demo

# next, deploy to App Engine
gcloud app deploy
If this runs successfully, you should get the following output:
Services to deploy:

descriptor:                  [/Users/soham/src/github.com/sohamkamani/springdemo/pom.xml]
source:                      [/Users/soham/src/github.com/sohamkamani/springdemo]
target project:              [sylvan-harmony-353705]
target service:              [default]
target version:              [20220618t111005]
target url:                  [https://sylvan-harmony-353705.uc.r.appspot.com]
target service account:      [App Engine default service account]


Do you want to continue (Y/n)?

Beginning deployment of service [default]...
╔════════════════════════════════════════════════════════════╗
╠═ Uploading 16 files to Google Cloud Storage               ═╣
╚════════════════════════════════════════════════════════════╝
File upload done.
Updating service [default]...done.
Setting traffic split for service [default]...done.
Deployed service [default] to [https://sylvan-harmony-353705.uc.r.appspot.com]

You can stream logs from the command line by running:
  $ gcloud app logs tail -s default

To view your application in the web browser run:
  $ gcloud app browse
In the background, our source code files were uploaded to Google Cloud Storage, and our Java application was built using Cloud Build. Finally, the built application was deployed and run on App Engine.
The target url tells us where our application is deployed. In this case, the application is available at https://sylvan-harmony-353705.uc.r.appspot.com
Since we defined a handler for the /simple-request route, we can make a GET HTTP request and get our sample response:
curl -v https://sylvan-harmony-353705.uc.r.appspot.com/simple-request
> GET /simple-request HTTP/2
> Host: sylvan-harmony-353705.uc.r.appspot.com
> user-agent: curl/7.79.1
> accept: */*
>
< HTTP/2 200
< content-type: text/plain;charset=UTF-8
< date: Sat, 18 Jun 2022 05:49:51 GMT
< content-length: 2
<

ok%
Our application is now live on App Engine.
Updating Your Application
Let’s see how to make changes to our code and re-deploy an updated version of our application.
Throughout the application development process, we can expect to make several changes to our codebase. App Engine provides tools for managing the different versions of our codebase, and rolling out new versions in a production-safe manner.
As an example, let’s add another HTTP route to our DemoApplication class:
public class DemoApplication {
	// ...
	@GetMapping("/echo")
	// We can pass the name of the url param we want as an argument to the RequestParam annotation.
	// The value will be stored in the annotated variable
	public String echo(@RequestParam(name = "text") String echoText) {
		// The response will be "Echo: " followed by the param that was passed in
		return "Echo: " + echoText;
	}
	// ...
}
Let’s redeploy the application once more using the gcloud app deploy command:
> gcloud app deploy
Services to deploy:

descriptor:                  [/Users/soham/src/github.com/sohamkamani/springdemo/pom.xml]
source:                      [/Users/soham/src/github.com/sohamkamani/springdemo]
target project:              [sylvan-harmony-353705]
target service:              [default]
target version:              [20220618t120608]
target url:                  [https://sylvan-harmony-353705.uc.r.appspot.com]
target service account:      [App Engine default service account]


Do you want to continue (Y/n)?

Beginning deployment of service [default]...
╔════════════════════════════════════════════════════════════╗
╠═ Uploading 0 files to Google Cloud Storage                ═╣
╚════════════════════════════════════════════════════════════╝
File upload done.
Updating service [default]...done.
Setting traffic split for service [default]...done.
Deployed service [default] to [https://sylvan-harmony-353705.uc.r.appspot.com]

You can stream logs from the command line by running:
  $ gcloud app logs tail -s default

To view your application in the web browser run:
  $ gcloud app browse
If you look closely, the
target versionhas changed. When deploying the first time, it was20220618t111005, but it is now20220618t120608
The new version will now be available on the same URL as before, so we can now call the /echo HTTP route:
curl -v https://sylvan-harmony-353705.uc.r.appspot.com/echo\?text\=hello_world

> GET /echo?text=hello_world HTTP/2
> Host: sylvan-harmony-353705.uc.r.appspot.com
> user-agent: curl/7.79.1
> accept: */*
>
< HTTP/2 200
< content-type: text/plain;charset=UTF-8
< content-length: 17
<

Echo: hello_world%
We can see the different available versions of our application in the App Engine versions dashboard:
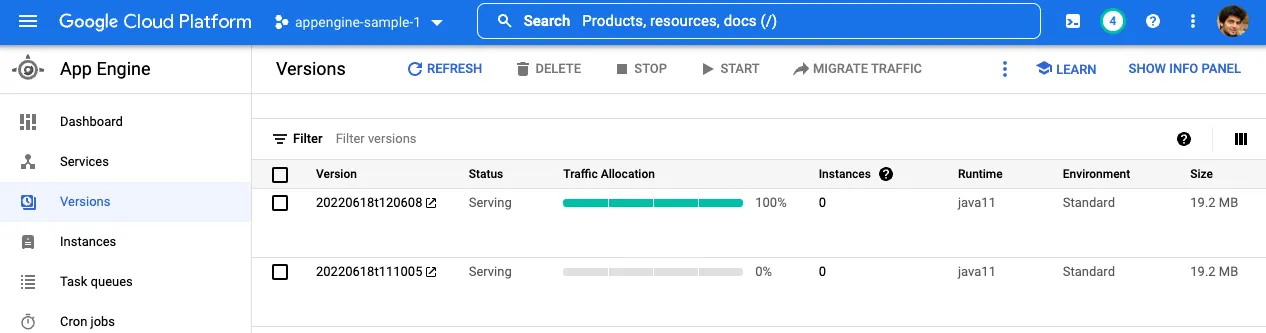
We can see that all of our traffic is currently routed to the 20220618t120608 version.
Migrating Traffic to Another Version
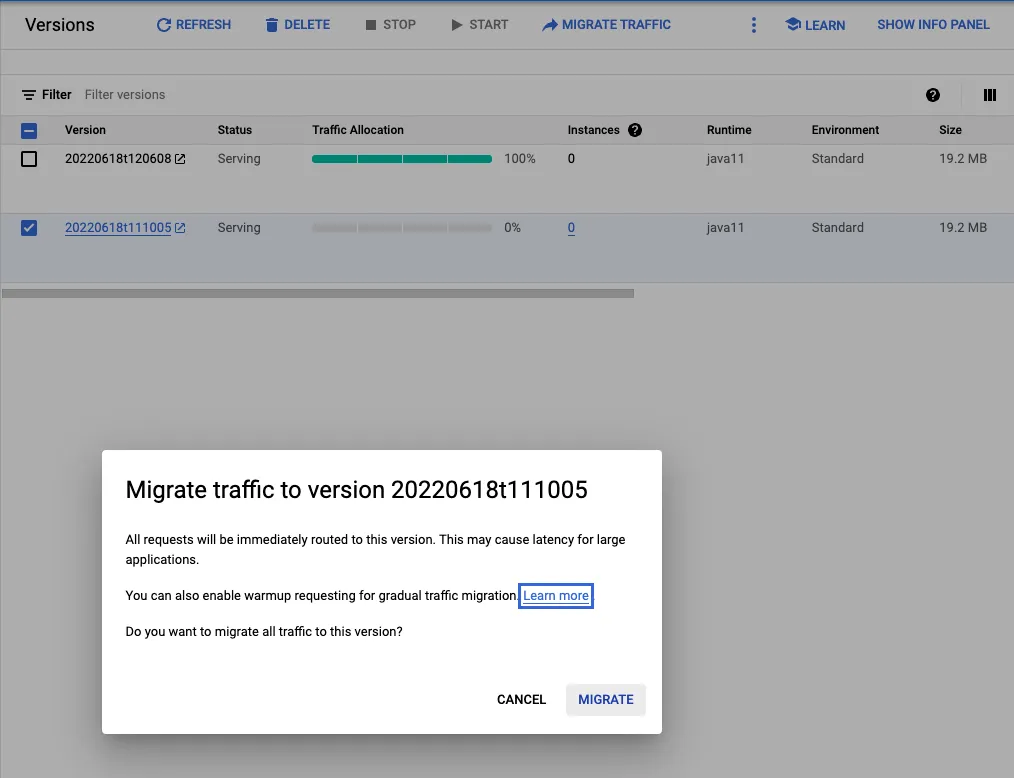
App Engine lets us migrate traffic back to another version through the versions dashboard.
For example, the latest version of our application may have a bug, and we would want to revert to a previous (and more stable) version.
We can do this by selecting the version we want to migrate to, and clicking on the MIGRATE TRAFFIC button:
Next Steps
App Engine allows you to deploy and run your application without having to manage the underlying infrastructure.
In this tutorial we learnt how to deploy a Java Spring Boot application to our own App Engine instance.
We’ve only scratched the surface so far, and there is a lot more we can do to make our application production-ready, such as:
- Setting up logging and monitoring - we can use App Engine dashboards and Cloud Logging to better monitor traffic and errors that may occur in our application
- Scaling our application - We can set up auto-scaling, or specify the number of instances manually to accommodate more traffic
- Accessing other Google Cloud services - By default, App Engine applications have limited access to other Google Cloud services, like Cloud Storage, Cloud SQL, and more. We can use service accounts to access other Google Cloud services securely.
If you want to read more about all the features available, you can look at the App Engine documentation.
You can also see the complete source code for the sample Java application on Github