Table of Contents
This tutorial will go through a straightforward set of steps to get a responsive telegram bot up and running from scratch in Golang

I spent a considerable amount of time figuring out how to make a functional telegram bot. I mean sure, the official introduction is good, but theres a lot of stuff about what bots are, and a few scattered instructions about the API, but not enough of structure for a beginner to get up and running quickly.
So, heres how to make a responsive telegram bot using Go, with the least amount of hassle:
If you want to learn how to make a Telegram bot in Node.js, you can read my other post
Set up Your Bot
You don’t need to write any code for this. In fact, you don’t even need your computer! Go to the telegram app on your phone and…
-
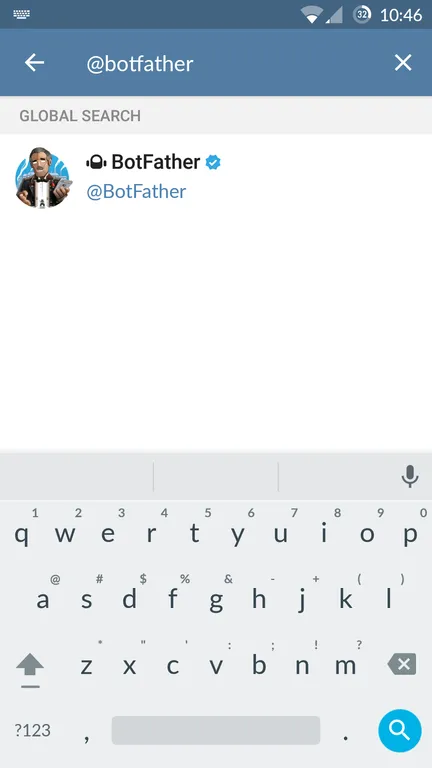
Search for the “botfather” telegram bot (he’s the one that’ll assist you with creating and managing your bot)
-
Type
/helpto see all possible commands the botfather can handle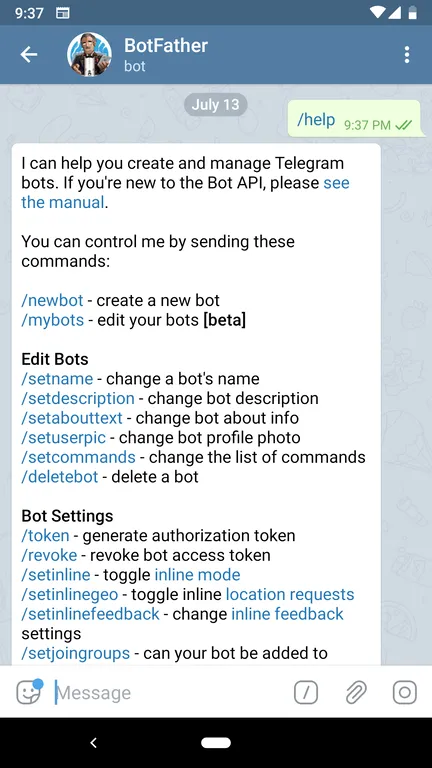
-
Click on or type
/newbotto create a new bot.
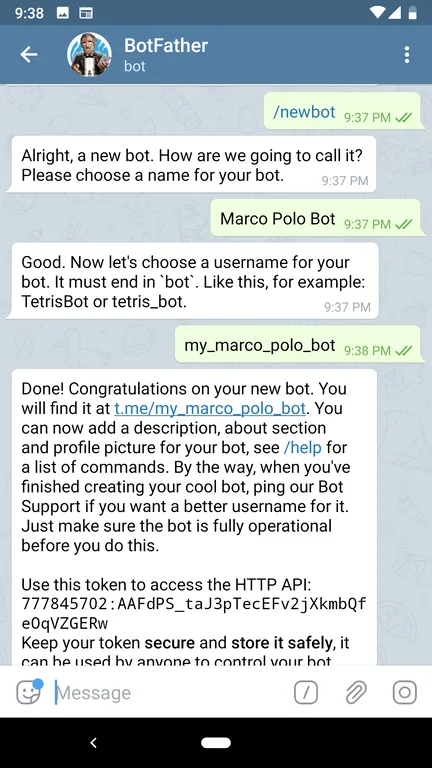 Follow instructions and make a new name for your bot. If you are making a bot just for experimentation, it can be useful to namespace your bot by placing your name before it in its username, since it has to be a unique name. Although, its screen name can be whatever you like.
I have chosen “Marco Polo Bot” as the screen name and “my_marco_polo_bot” as its username. -
Congratulations! You have created your first bot. You should see a new API token generated for it (for example, in the previous picture, you can see my newly generated token is
777845702:AAFdPS_taJ3pTecEFv2jXkmbQfeOqVZGERw). Now you can search for your newly created bot on telegram :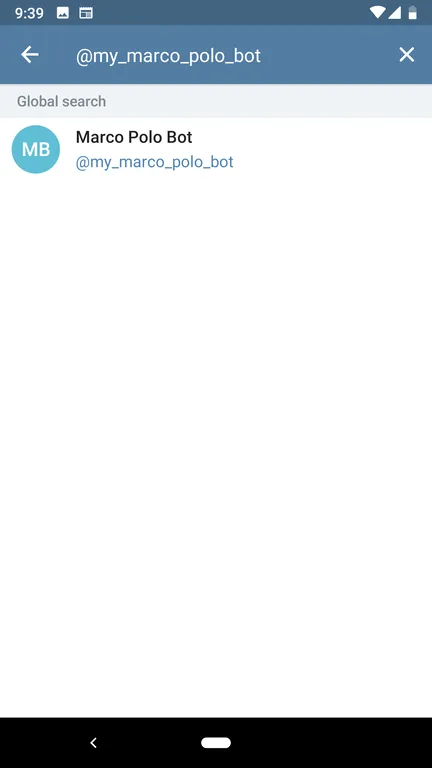
-
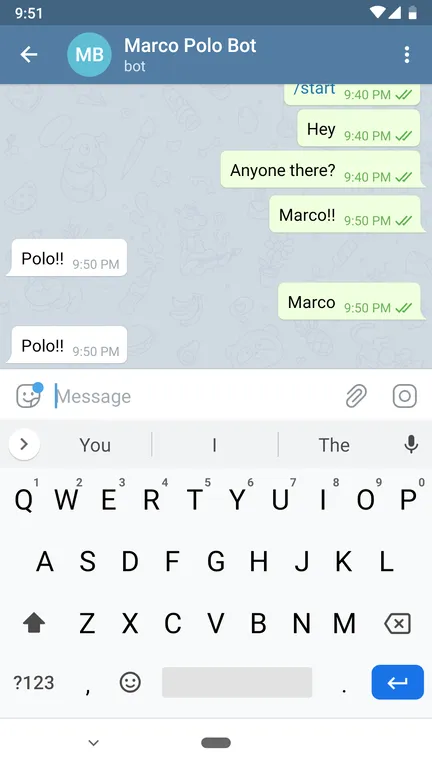
Go ahead and start chatting with your bot!
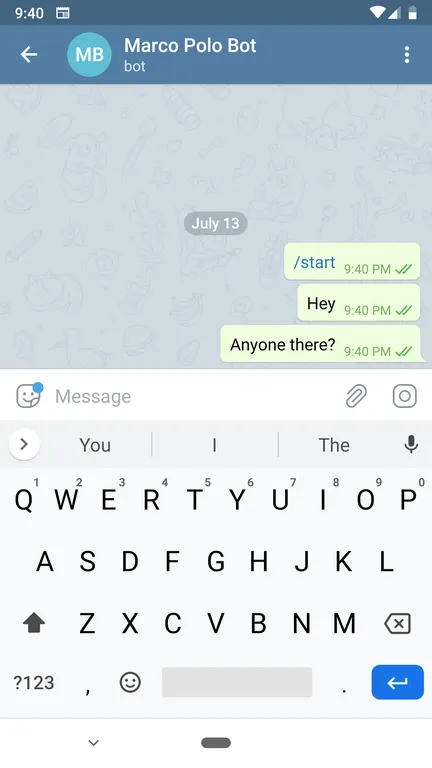 Well, that’s pretty disappointing. Our bot seems to be stupid, in the sense that it can’t really reply or say anything back. Let’s take care of that by building our bot server which runs on the back end.
Set up Your Bot Server
Every time you message a bot, it forwards your message in the form of an API call to a server. This server is what processes and responds to all the messages you send to the bot.
There are two ways we can go about receiving updates whenever someone sends messages to our bot :
- Long polling : Periodically scan for any messages that may have appeared. Not recommended.
- Webhooks : Have the bot call an API whenever it receives a message. Much faster and more responsive.
We are going to go with webhooks for this tutorial. Each webhook is called with an update object. Lets create our server to handle this update.
We will be creating our server using Golang, but you can use whatever suits you to make your server. Once you have Go installed, initialize your project:
## Create a new directory and enter it
mkdir my-telegram-bot
cd my-telegram-bot

## Create a main.go file
touch main.go
Next, we can create our webhook server in the main.go file:
package main

import (
	"bytes"
	"encoding/json"
	"errors"
	"fmt"
	"net/http"
	"strings"
)

// Create a struct that mimics the webhook response body
// https://core.telegram.org/bots/api#update
type webhookReqBody struct {
	Message struct {
		Text string `json:"text"`
		Chat struct {
			ID int64 `json:"id"`
		} `json:"chat"`
	} `json:"message"`
}

// This handler is called everytime telegram sends us a webhook event
func Handler(res http.ResponseWriter, req *http.Request) {
	// First, decode the JSON response body
	body := &webhookReqBody{}
	if err := json.NewDecoder(req.Body).Decode(body); err != nil {
		fmt.Println("could not decode request body", err)
		return
	}

	// Check if the message contains the word "marco"
	// if not, return without doing anything
	if !strings.Contains(strings.ToLower(body.Message.Text), "marco") {
		return
	}

	// If the text contains marco, call the `sayPolo` function, which
	// is defined below
	if err := sayPolo(body.Message.Chat.ID); err != nil {
		fmt.Println("error in sending reply:", err)
		return
	}

	// log a confirmation message if the message is sent successfully
	fmt.Println("reply sent")
}

//The below code deals with the process of sending a response message
// to the user

// Create a struct to conform to the JSON body
// of the send message request
// https://core.telegram.org/bots/api#sendmessage
type sendMessageReqBody struct {
	ChatID int64  `json:"chat_id"`
	Text   string `json:"text"`
}

// sayPolo takes a chatID and sends "polo" to them
func sayPolo(chatID int64) error {
	// Create the request body struct
	reqBody := &sendMessageReqBody{
		ChatID: chatID,
		Text:   "Polo!!",
	}
	// Create the JSON body from the struct
	reqBytes, err := json.Marshal(reqBody)
	if err != nil {
		return err
	}

	// Send a post request with your token
	res, err := http.Post("https://api.telegram.org/bot777845702:AAFdPS_taJ3pTecEFv2jXkmbQfeOqVZGERw/sendMessage", "application/json", bytes.NewBuffer(reqBytes))
	if err != nil {
		return err
	}
	if res.StatusCode != http.StatusOK {
		return errors.New("unexpected status" + res.Status)
	}

	return nil
}

// FInally, the main funtion starts our server on port 3000
func main() {
	http.ListenAndServe(":3000", http.HandlerFunc(Handler))
}
You can run this server on your local machine by running go run main.go
If you don’t see any error message, then that means your server is running on port 3000.
But, this is not enough. The bot cannot call an API if it is running on your local machine. It needs a public domain name. This means we have to deploy our application.
Deploy Your Service
You can deploy your server any way you want, but I find it really quick and easy to use ngrok. Ngrok allows you to expose applications running on your local machine to the public internet.
Once you install ngrok, you can run this command on another terminal on your system:
ngrok http 3000Once successful, you should be able to see the public URLs for your bot:
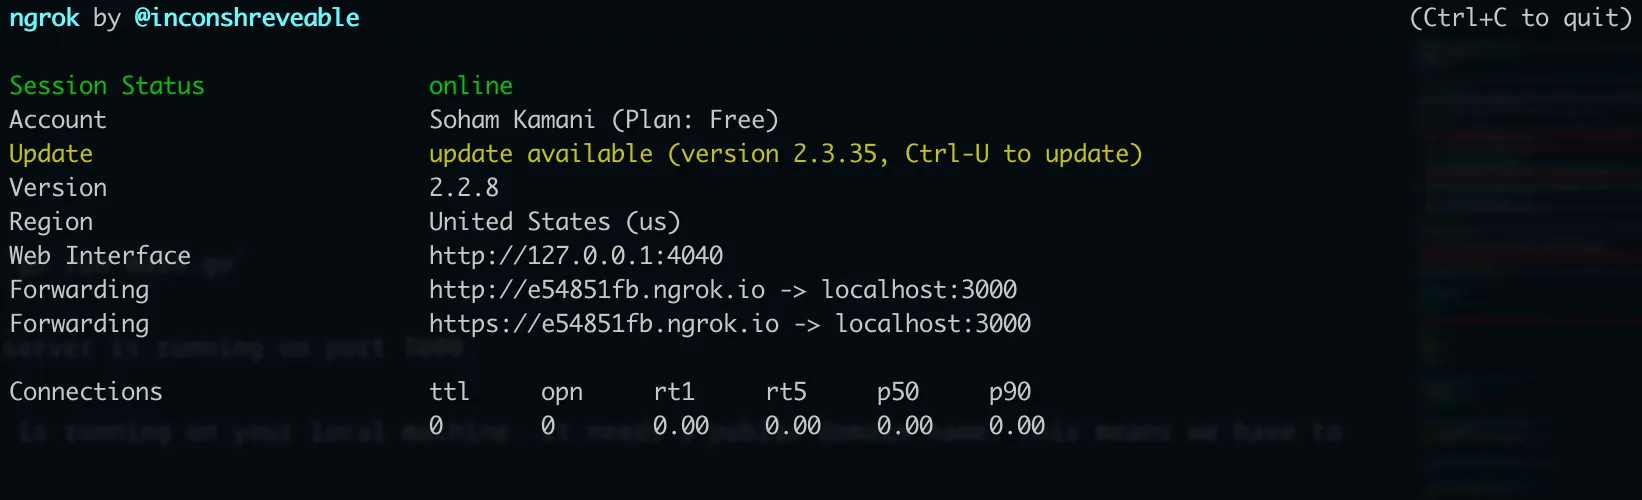
Here, https://e54851fb.ngrok.io is the public temporary URL for the server running on port 3000 of my machine.
Now, all we need to do is let telegram know that our bot has to talk to this url whenever it receives any message. We do this through the telegram API. Enter this in your terminal :
curl -F "url=https://e54851fb.ngrok.io/" https://api.telegram.org/bot<your_api_token>/setWebhook…and you’re pretty much done! Try chatting with your newly made bot and see what happens!