Working with Google Cloud SQL in Java: A Step-by-Step Guide to Creating, Connecting, and Querying Your Database
Table of Contents
In this post, we’ll explore how to work with Google Cloud SQL in Java, including how to set up your database instance, connect to it, and perform common database operations to read and write data.
What is Cloud SQL?
Cloud SQL is a managed database service that allows you to run your own instance of a relational database on the cloud.

Several popular database engines are supported, but for the examples in this post, we’ll be using a PostgreSQL database instance. However, the concepts here would apply for other database types as well.
If you just want to see the code, you can go to the java-gcp-examples Github repo.
Creating a New Cloud SQL Instance
You can think of an “instance” as a database server, which itself can contain several databases and tables, with shared compute resources.
To create a new instance, navigate to the Cloud SQL page on your GCP console.
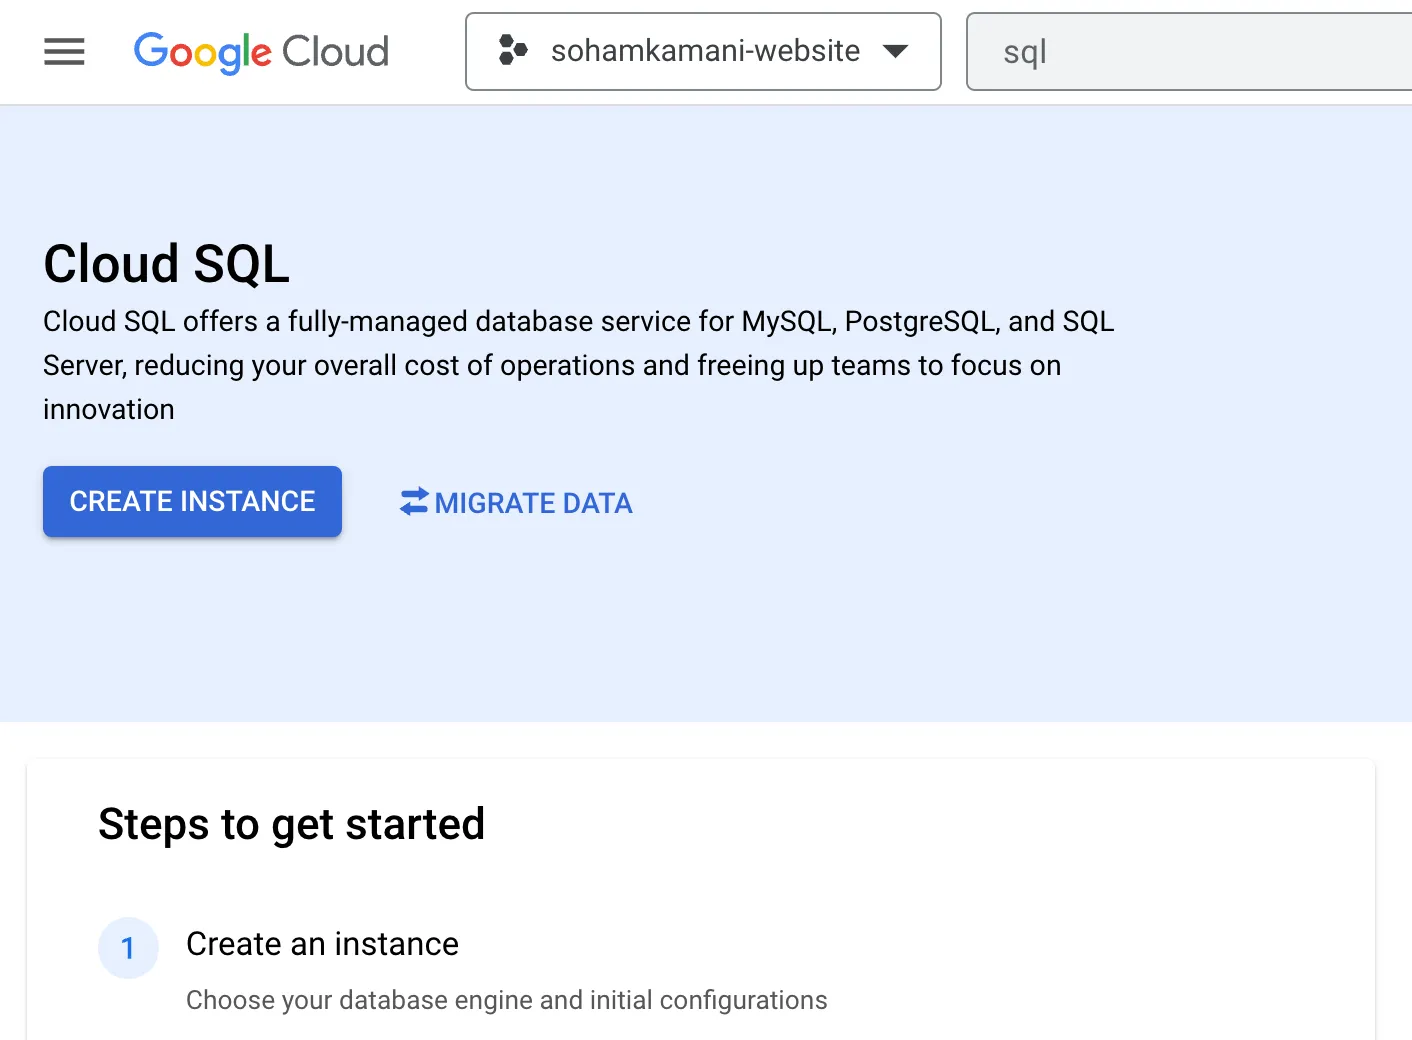
Here, you’ll see a “Create instance” button, which will take you through the instance creation process.
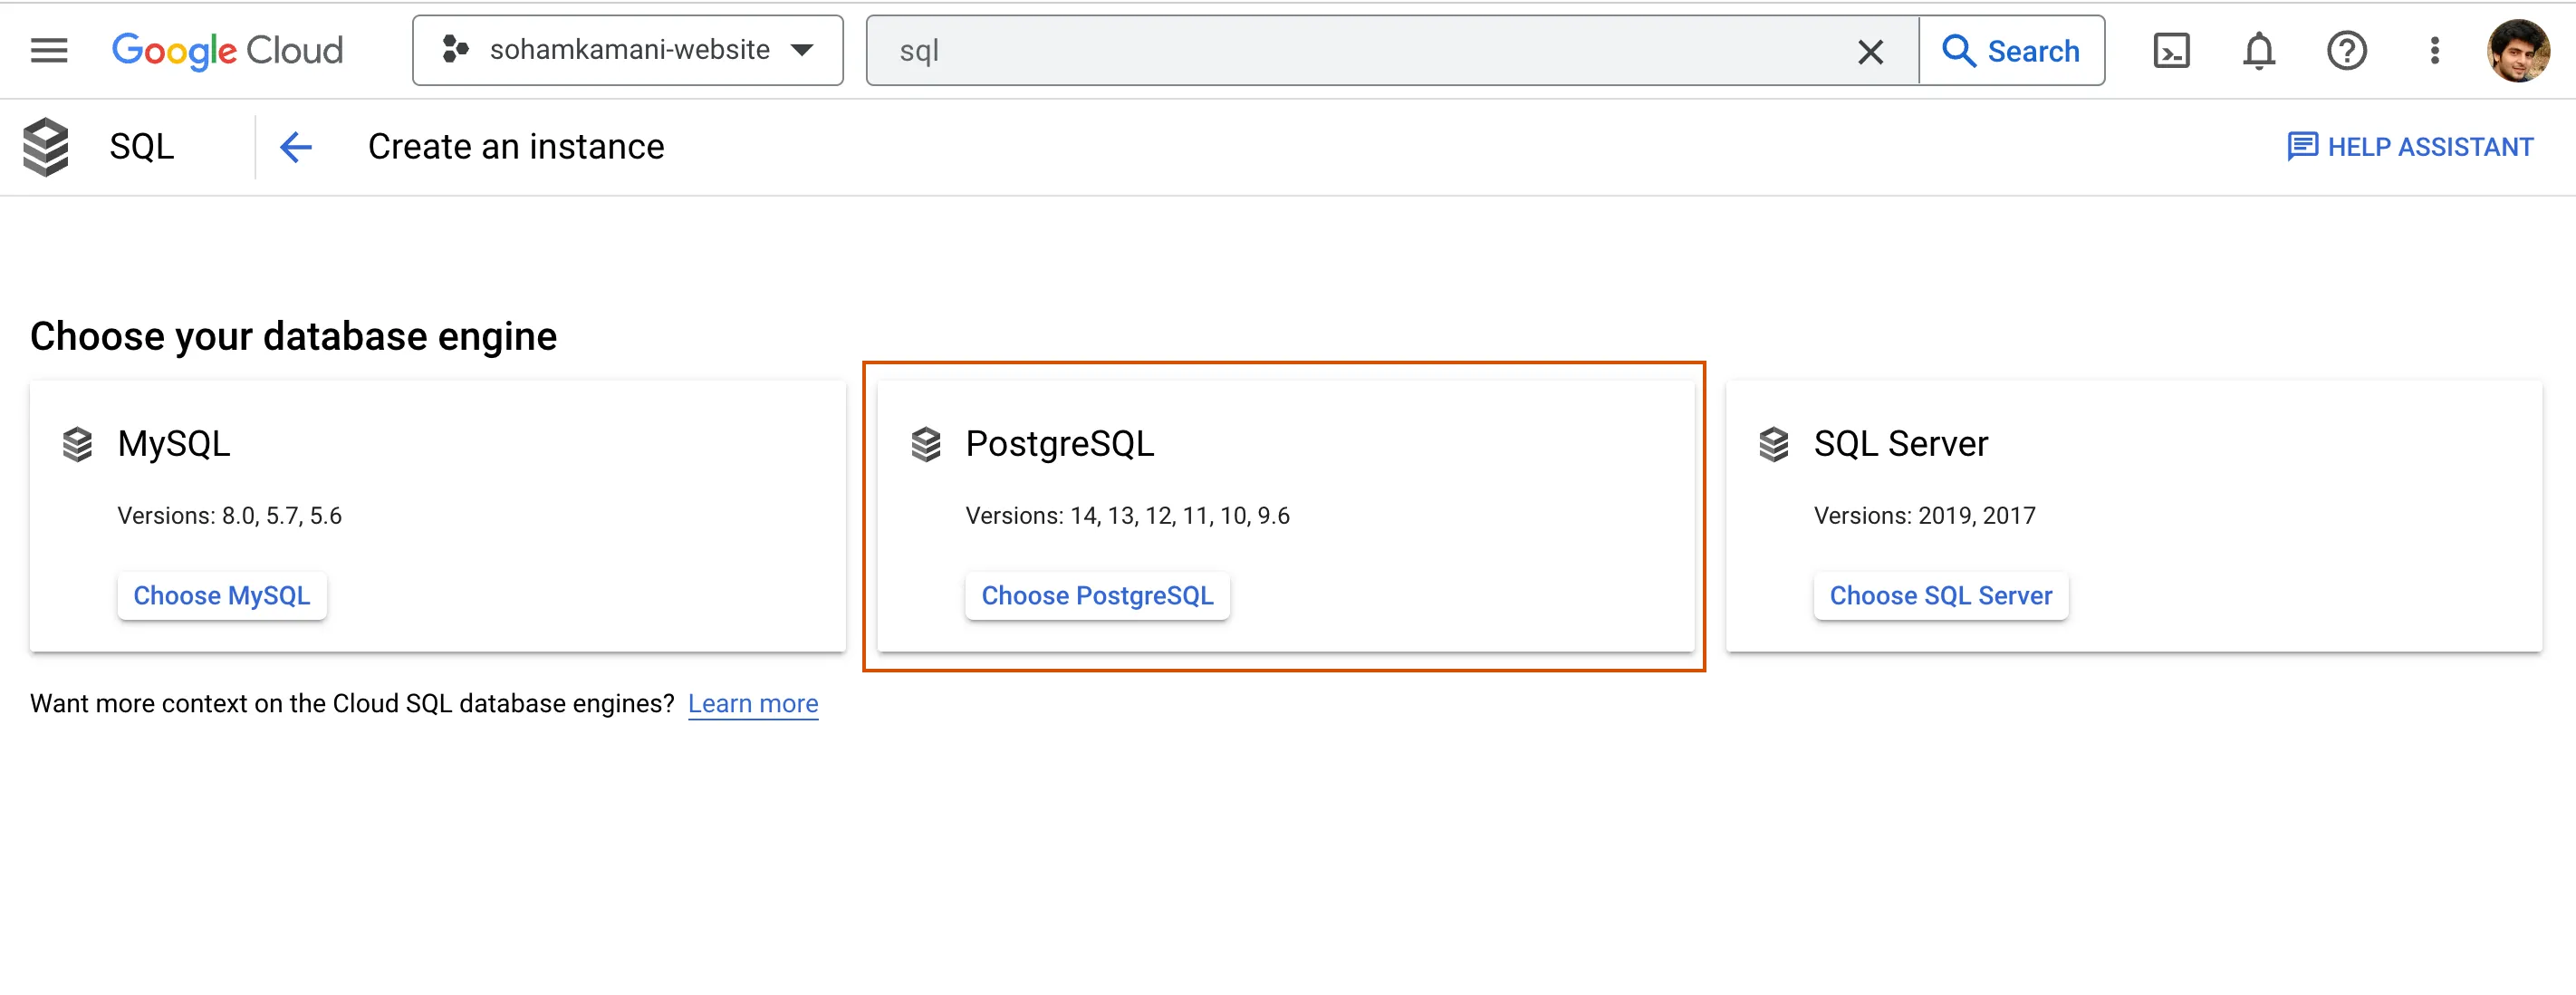
In this case, we can choose the latest current version of PostgreSQL as our database engine.
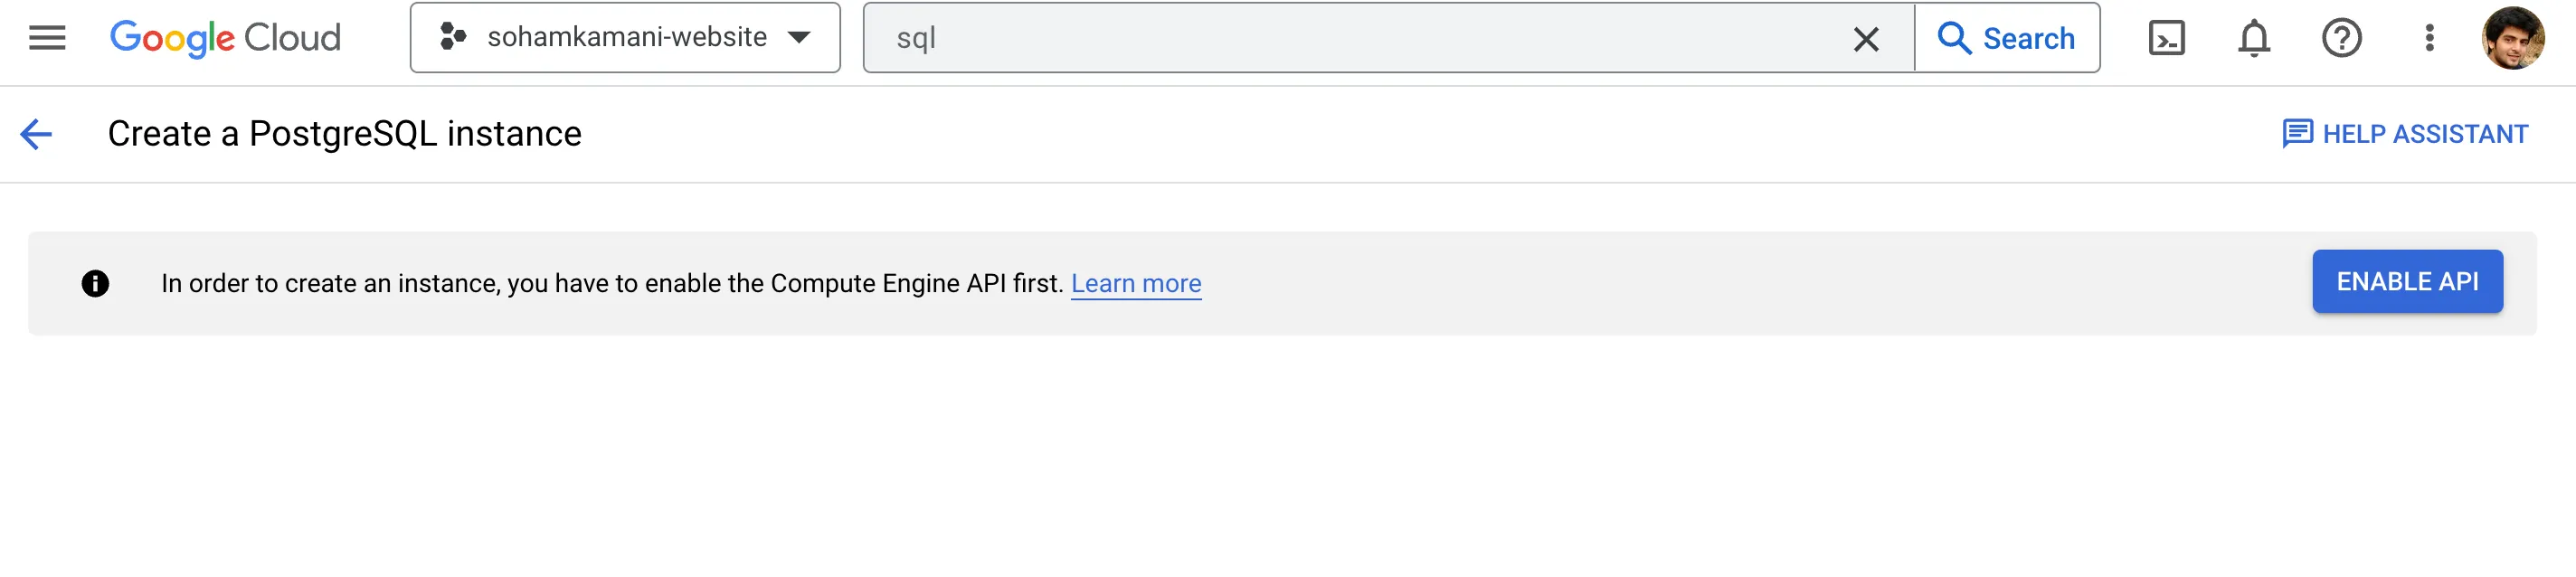
You may need to enable the API first:
Next, you’ll need to configure the instance. This includes choosing the CPU, memory, and storage capacity according to your needs. You’ll be able to set a password in this page as well - which we will need to connect to the database later.
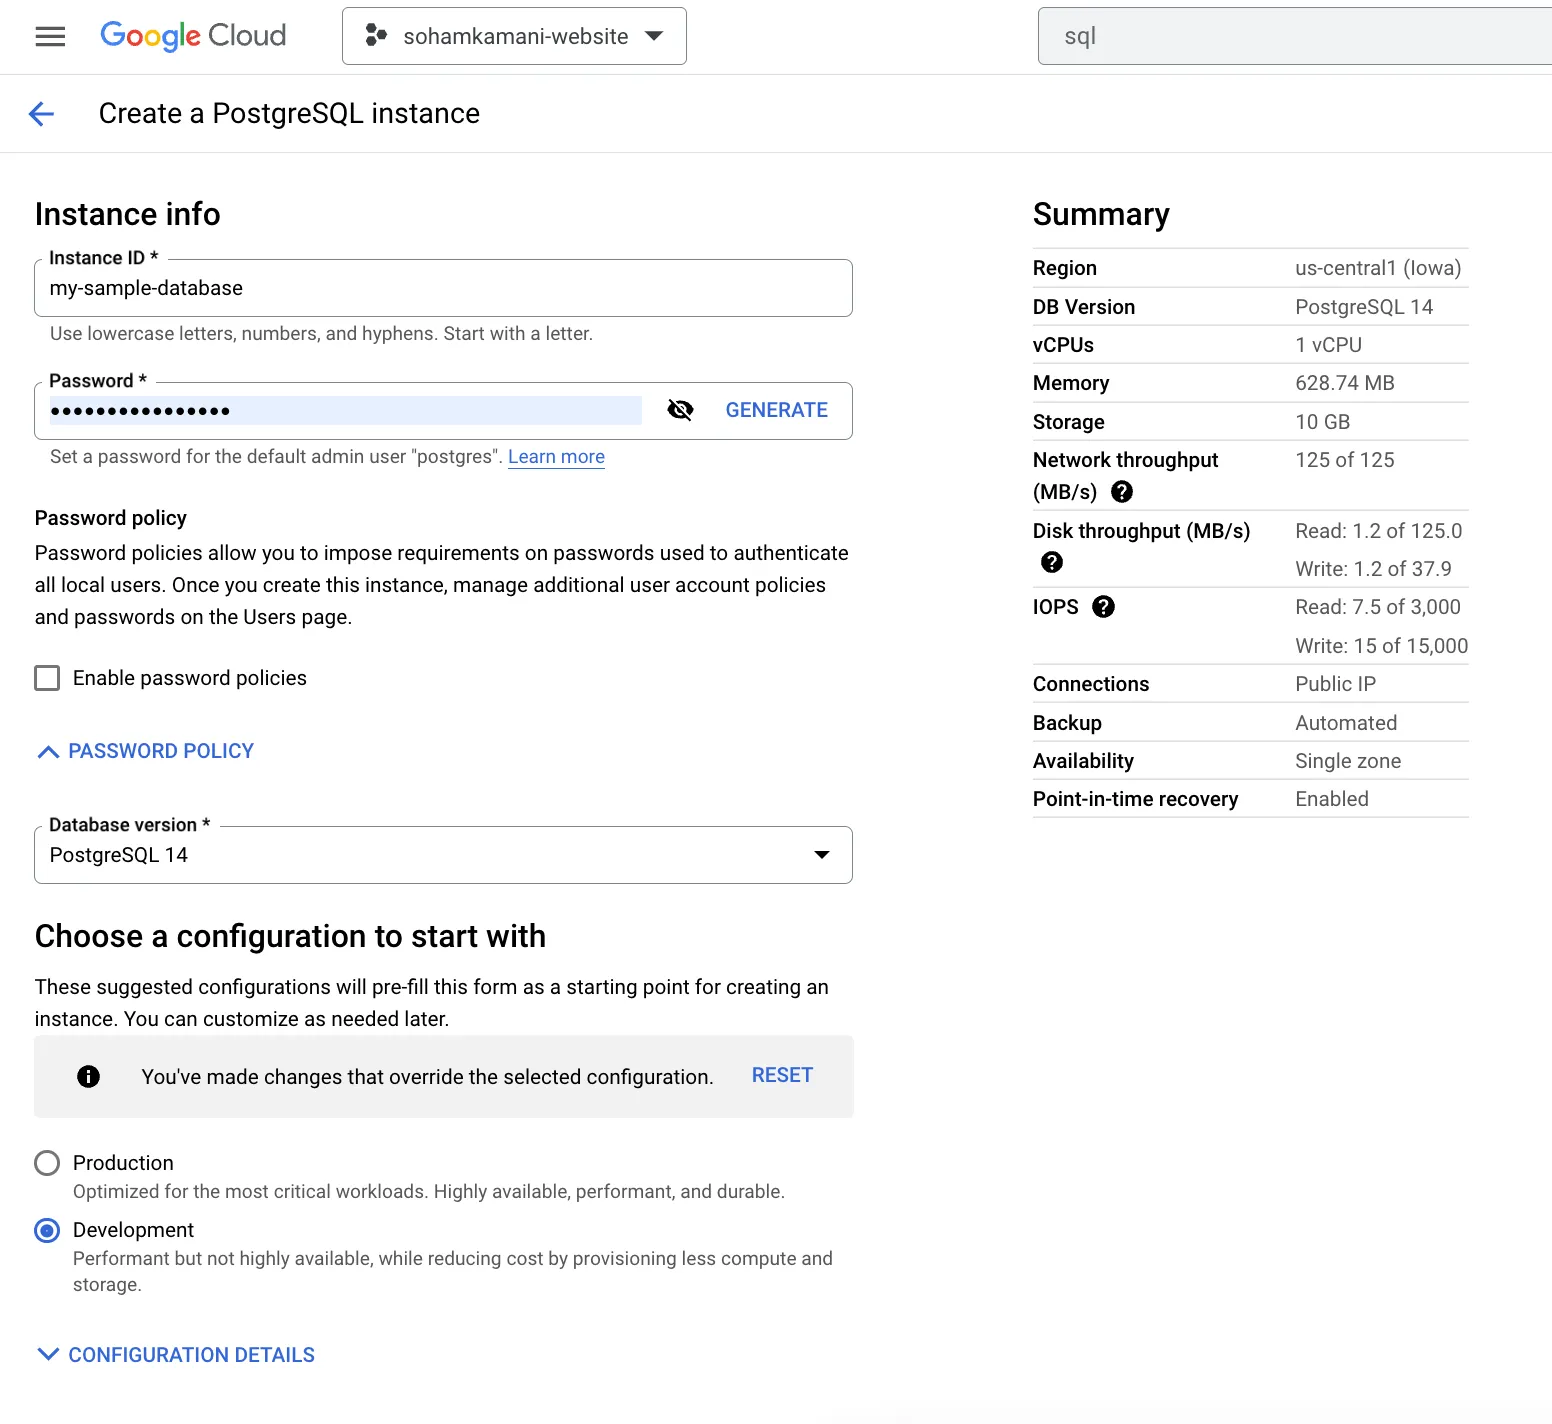
Since I’m on creating an instance for demonstration, I’m choosing the lowest configuration settings.
After the instance is provisioned, we can create a new database. In this case, I’m creating a database called bird_encyclopedia
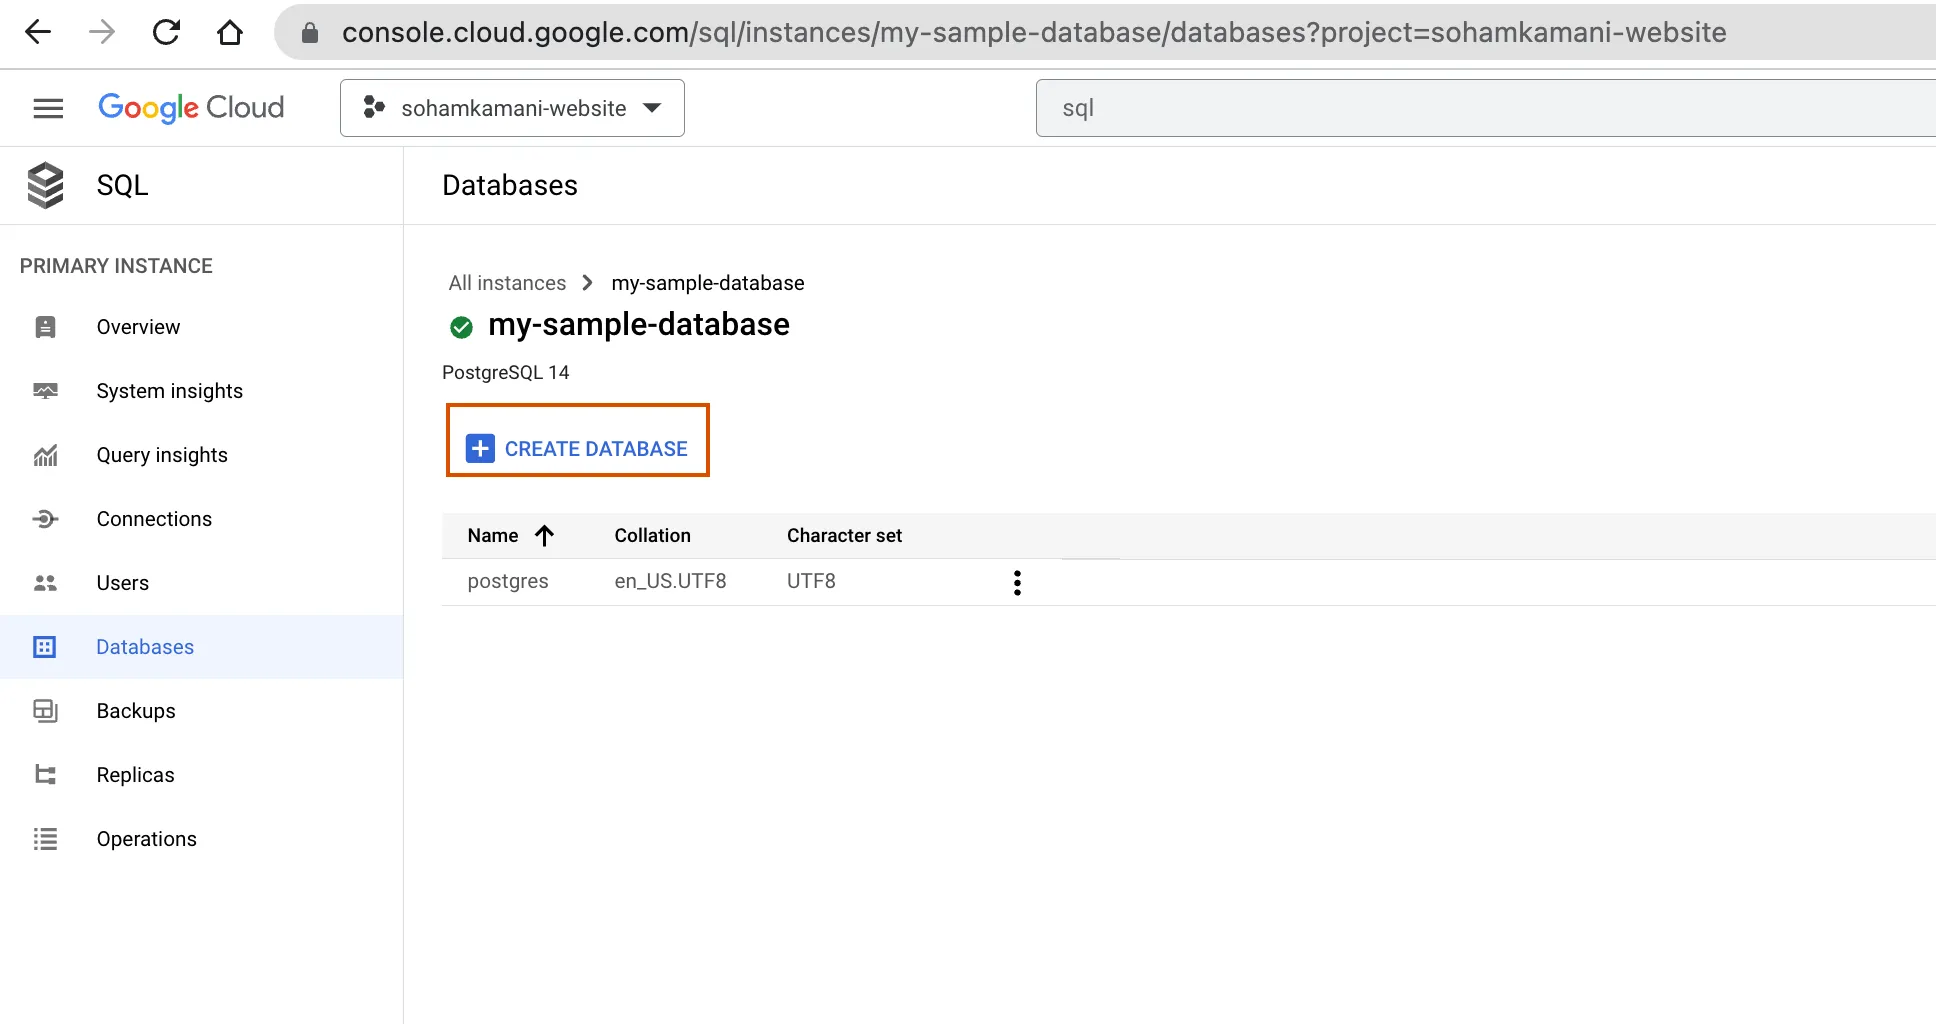
The pre-created
postgresdatabase you see above is a default database meant for use by users, utilities and third party applications. It’s recommended to create a new database for your application.
Running an SQL Shell From the Terminal
So far, we’ve created our Cloud SQL instance and database. Now we need to create a table. To do this, we need to be able to execute the CREATE TABLE query on our database. The easiest way to do this is to connect to the SQL shell in your terminal.
We can also create tables from our Java application directly, so you can skip this section if you want, but its good to know.
First, we need to install the Google Cloud CLI.
Once installed, we can run gcloud auth application-default login to update our authentication details.
After you login successfully, the gcloud SDK stores your authentication information in a default location on your computer, which is then used by our Java application.
Finally, we can run the below command to start an interactive SQL shell with our database:
gcloud sql connect my-sample-database --database bird_encyclopediaOutput:
Allowlisting your IP for incoming connection for 5 minutes...done.
Connecting to database with SQL user [postgres].Password:
psql (13.3, server 14.4)
WARNING: psql major version 13, server major version 14.
         Some psql features might not work.
SSL connection (protocol: TLSv1.3, cipher: TLS_AES_256_GCM_SHA384, bits: 256, compression: off)
Type "help" for help.

bird_encyclopedia=>
This will allow you to execute SQL statements directly on the database. Let’s start by creating a table of birds, which contains the name of the bird and its description:
CREATE TABLE birds (
  id SERIAL PRIMARY KEY,
  bird VARCHAR(256),
  description VARCHAR(1024)
);
We can also populate the birds table with some test data:
INSERT INTO birds (bird , description) VALUES
('pigeon', 'common in cities'),
('eagle', 'bird of prey');
Now that we have a table with some data in it, let’s see how to read and write data in our Java application.
Connecting to Google Cloud SQL Using Java
Let’s see how to connect to our Cloud SQL instance from our Java application. In practice, all queries are executed over a connection (represented by a Connection instance in JDBC, that’s normally provided by a datasource).
For running the Java code in this example, we’ll be using a standard Maven project structure
Installing Dependencies
Let’s look at the libraries we need to install for this. We can add these libraries as dependencies to our pom.xml file:
<dependency>
  <!-- This is a utility library that allows us to connect to a Cloud SQL
  database without having to deal with security measures like IP whitelisting
  or SSL certificates
  -->
  <groupId>com.google.cloud.sql</groupId>
  <artifactId>postgres-socket-factory</artifactId>
  <version>1.11.0</version>
</dependency>
<dependency>
  <!-- The postgres driver library required to interface with PostgreSQL
  via JDBC -->
  <groupId>org.postgresql</groupId>
  <artifactId>postgresql</artifactId>
  <version>42.5.4</version>
</dependency>
<dependency>
  <!-- HikariCP is used to create and manage connection pools and datasources for
  JDBC -->
  <groupId>com.zaxxer</groupId>
  <artifactId>HikariCP</artifactId>
  <version>5.0.1</version>
</dependency>
You can see the full
pom.xmlfile in the Github repo
Creating a Connection Pool
Now we can create a new class CloudSqlConnectionPoolFactory that provides a method to create a new datasource:
public class CloudSqlConnectionPoolFactory {
  // I'm defining my database credentials here for convenience
  // but in practice, you should use environment variables
  // (https://docs.oracle.com/javase/tutorial/essential/environment/env.html)
  // or Cloud Secret Manager (https://cloud.google.com/secret-manager)
  private static final String INSTANCE_CONNECTION_NAME =
      "sohamkamani-website:us-central1:my-sample-database";
  private static final String DB_USER = "postgres";
  private static final String DB_PASS = "<password>";
  private static final String DB_NAME = "bird_encyclopedia";

  public static DataSource createConnectionPool() {
    // create a new configuration and set the database credentials
    HikariConfig config = new HikariConfig();
    config.setJdbcUrl(String.format("jdbc:postgresql:///%s", DB_NAME));
    config.setUsername(DB_USER);
    config.setPassword(DB_PASS);
    config.addDataSourceProperty("socketFactory", "com.google.cloud.sql.postgres.SocketFactory");
    config.addDataSourceProperty("cloudSqlInstance", INSTANCE_CONNECTION_NAME);

    // Initialize the connection pool using the configuration object.
    return new HikariDataSource(config);
  }
}
Executing Queries
We can now create the main function that uses a DataSource instance to run queries:
public class App {
  public static void main(String[] args) throws SQLException {
    // Get a new datasource from the method we defined before
    DataSource dataSource = CloudSqlConnectionPoolFactory.createConnectionPool();

    // Run a query and get the result
    ResultSet rs =
        dataSource.getConnection().prepareStatement("select * from birds").executeQuery();

    // print the results to the console
    while (rs.next()) {
      System.out
          .println("name: " + rs.getString("bird") + " description:" + rs.getString("description"));
    }
  }
}
We can run the example by executing:
mvn -DMAIN_CLASS=com.sohamkamani.cloudsql.App clean compile assembly:single \
&& java -jar target/java-gcp-examples-1.0-SNAPSHOT-jar-with-dependencies.jar
Which should give us the output:
name: pigeon description:common in cities
name: eagle description:bird of prey
In this example, we were able to read data by executing a SELECT query, but we can run other operations as well (like update, insert and delete) using other JDBC API methods.
If you want to know more about the different features available for Cloud SQL, you can see the official documentation from Google Cloud.
You can also see the java-gcp-examples Github repo for the complete working code.